Материал: grid
An Easy Reference for ALV Grid Control
Value Mode Possible
selections
Comment
SPACE
same as 'B'
see 'B'
Default setting
'A'
Column and row
selection
Multiple columns
Multiple rows
The user selects the
rows through
pushbuttons at the left
border of the grid
control.
'B'
Simple selection, list
box
Multiple columns
Multiple rows
'C' Multiple
selection,
list
box
Multiple columns
Multiple rows
'D' Cell
selection
Multiple columns
Multiple rows
Any cells
The user selects the
rows through
pushbuttons at the left
border of the grid
control.
Table 7 –
Values for adjusting selection property of the ALV Grid control
Beyond setting this option, you can set “
NO_ROWMARK
” option to hide the mark column which is
normally visible when the selection mode allows multiple row selection.
One point to notice here is that if you set your ALV Grid as to be editable, it may override your
selection mode regardless of your layout settings.
After a selection is made, the rest being important about the developer is to figure out what is
selected. This will be essential if you implement your functions as interacting with selections made.
Certainly, ALV Grid tells this information. You use methods:
GET_SELECTED_CELLS
: This method returns the exact addresses of selected cells in a table
of type “
LVC_T_CELL
” via the output parameter “
et_cell
”. The ALV Grid Control returns only the
indexes of cells that are selected individually. If an entire row or column is selected, the table has no
information about that row. For individually selected cells, you will get the name of the column and the
index of the row for each one.
GET_SELECTED_CELLS_ID
: This method also returns the addresses of selected cells. The
difference is, first its output type is “
LVC_T_CENO
” via the output parameter “
et_cells
” and it returns the
IDs for columns and rows of selected cells.
GET_SELECTED_ROWS
: For the selection mode ‘A’, ‘C’ or ‘D’ you can select rows. To get
information about selected rows, this method is utilized. It has two output table parameters. However, the
parameter “
et_index_rows
” is obsolete. The other parameter “
et_row_no
” is of type “
LVC_T_ROID
”
and returns row indexes for selected rows (but not cells or columns) in it.
GET_SELECTED_COLUMNS:
As understood so far, this method returns information about
selected columns. Its output table parameter “
et_index_columns
” is of type “
LVC_T_COL
” and consist
of the names of selected columns.
© 2005 SAP AG
26
An Easy Reference for ALV Grid Control
In your program, you may want to make some cells, rows or columns to be selected during execution.
For those purposes, you can use “SET” versions of methods above whose interfaces are similar but the
direction is reverse.
After a screen transition, when you come back to the screen with your ALV, your selections may be
lost. You can utilize “GET” methods before transition, to backup those information and after returning to
the screen, you can use “SET” methods to restore them.
Retrieving and Setting Scroll Status Info
Besides setting some parts selected, you may also want to get and set scroll status information. We
have a pair of get and set methods for this purpose.
GET_SCROLL_INFO_VIA_ID:
This method is used to retrieve scroll info. It has three output parameters
which are “
es_col_info
” having column name being displayed first on the left, “
es_row_no
” having
index of the row displayed first at the top, and “
es_row_info
” which is obsolete.
SET_SCROLL_INFO_VIA_ID:
This method is used for setting the scroll status of the list. It has the same
interface with the “get” version. That’s why they can be used correspondingly.
Like in selections, after a screen transition, when you come back to the screen with your ALV, the
scroll information may be lost. You can utilize “GET” method before transition, to backup the scroll
information and after returning to the screen, you can use “SET” method to restore it.
Coloring
It is possible to paint some cells, rows, and columns through the ALV Grid control. Basically, with no
additional effort, if you set a column to be a key column it is automatically colored. To paint we have the
following procedures.
Coloring an Entire Column
To make an entire column be painted with the color you want, you can use the “
emphasize
” option of the
field catalog. Simply assign a color code to this field of the row added for your column. Color codes are
constructed as follows:
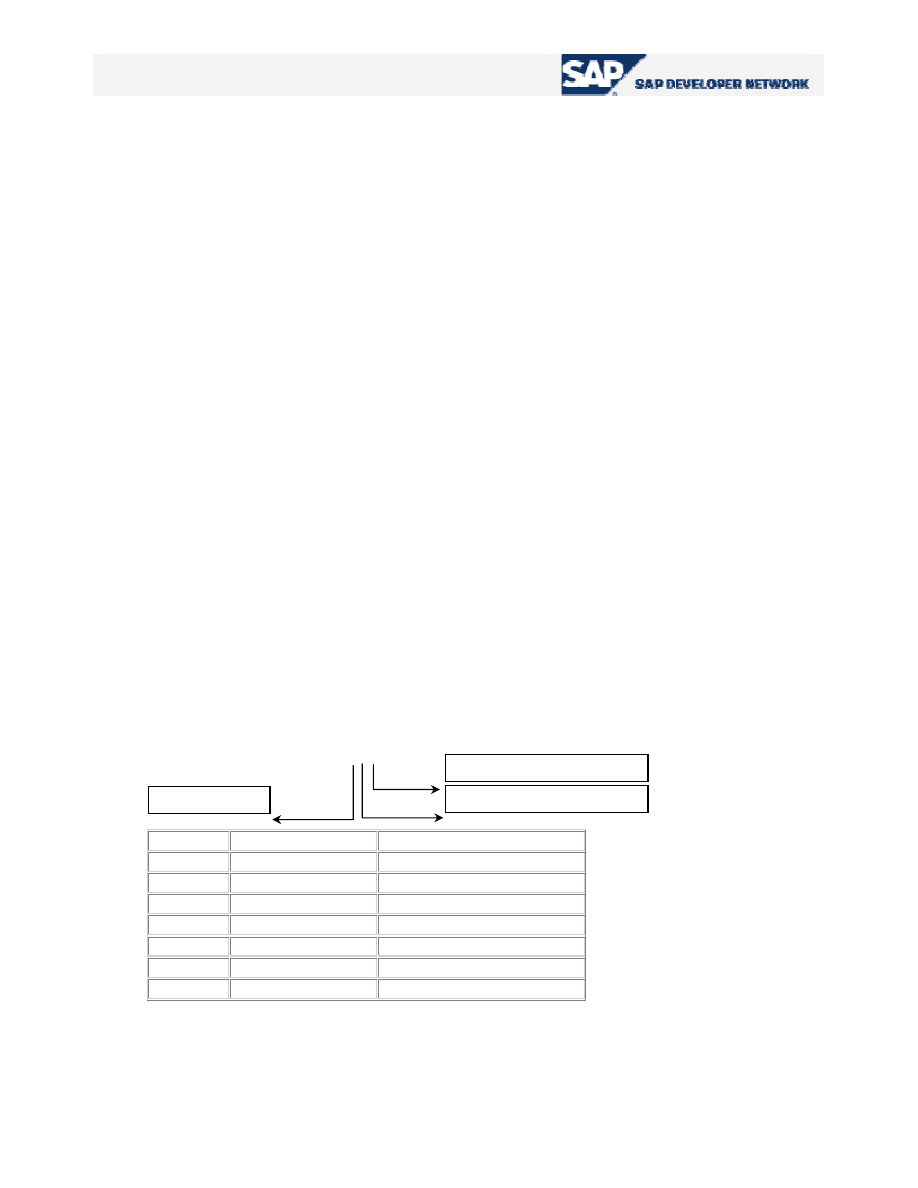
Cxyz
Color
1/0: inverse on/off
1/0: intensified on/off
x Color
Intended
for
1 gray-blue
headers
2
light gray
list bodies
3 yellow
totals
4 blue-green
key
columns
5
green
positive threshold value
6 red
negative
threshold
value
7 orange
Control
levels
Table 8 –
Color numbers
The “key setting” made via the field “
key
” of the field catalog overrides this setting. So if you want this
color to be colored different than the key color, you should set the “key” field to space while generating
© 2005 SAP AG
27
An Easy Reference for ALV Grid Control
the field catalog. However, then there may be some side effects on column orders. You can set the
column order as you want at the frontend. But if this is not suitable for you, then unset all key settings and
do all coloring and ordering as you want. Be careful that the function module generating the field catalog
will always set the key properties of key fields.
Coloring An Entire Row
Coloring a row is a bit (really a bit) more complicated. To enable row coloring, you should add an
additional field to your
list data table
. It should be of character type and length at least 4. This field will
contain the color code for the row. So, let’s modify declaration of our list data table “
gt_list
”.
*--- Internal table holding list data
DATA BEGIN OF gt_list OCCURS 0 .
INCLUDE STRUCTURE SFLIGHT .
DATA rowcolor(4) TYPE c .
DATA END OF gt_list .
Code Part 13 –
Adding the field that will contain row color data
As you guess, you should fill the color code to this field. Its format will be the same as explained
before at
section C.6.3.
But how will ALV Grid know that you have loaded the color data for the row to this
field. So, you make it know this by passing the name of the field containing color codes to the field
“
INFO_FNAME
” of the layout structure.
e.g.
ps_layout-info_fname = <field_name_containing_color_codes>. “e.g. ‘ROWCOLOR’
You can fill that field anytime during execution. But, of course, due to the flow logic of screens, it will
be reflected to your list display as soon as an ALV refresh occurs.
You can color an entire row as described in the next section. However, this method is less time
consuming.
Coloring Individual Cells
This is the last point about coloring procedures for the ALV Grid. The procedure is similar to coloring
an entire row. However, since an individual cell can be addressed with two parameters we will need
something more. What is meant by “more” is a table type structure to be included into the structure of the
list data table. It seems strange, because including it will make our list data structure deep. But anyhow
ALV Grid control handles this.
The structure that should be included must be of type “
LVC_T_SCOL
”. If you want to color the entire
row, this inner table should contain only one row with field “
fname
” is set to space, some color value at
field “
col
”, “0” or “1” at fields “int” (intensified) and “
inv
” (inverse).
If you want to color individual cells, then for each cell column, append a line to this inner table which
also contains the column name at field “
fname
”. It is obvious that you can color an entire column by filling
this inner table with a row for that column for each row in the list data table. But, it is also obvious that,
this will be more time consuming than the method at
section C.6.1
.
Again key field coloring will override your settings. That’s why, we have another field in this inner
table called “
nokeycol
”. For each field represented in the inner table, set this field to ‘X’ to prevent
overriding of key color settings.
© 2005 SAP AG
28
An Easy Reference for ALV Grid Control
In this procedure, again we must tell the control the name of the inner table containing color data. The
field “
CTAB_FNAME
” of the layout structure is used for this purpose.
Code Part 14 –
Adding inner table that will contain cell color data
*--- Internal table holding list data
DATA BEGIN OF gt_list OCCURS 0 .
INCLUDE STRUCTURE SFLIGHT .
DATA rowcolor(4) TYPE c .
DATA cellcolors TYPE lvc_t_scol .
DATA END OF gt_list .
DATA ls_cellcolor TYPE lvc_s_scol .
...
READ TABLE gt_list INDEX 5 .
ls_cellcolor-fname = 'SEATSOCC' .
ls_cellcolor-color-col = '7' .
ls_cellcolor-color-int = '1' .
APPEND ls_cellcolor TO gt_list-cellcolors .
MODIFY gt_list INDEX 5 .
Code Part 15 –
A sample code to make the cell at row 5 and column ‘SEATSOCC’ colored
A juicy-brained guy may ask what happens if all these three procedures applied for coloring at the
same time. And again the same answer is given as there is a priority among them. The priority order is:
cell setting - row setting - column setting. Beside these, key field setting must be handled.
Inserting Hyperlinks
Inserting hyperlink fields is achieved by a source table containing hyperlinks and handles to relate it
to the list data. The hyperlinks table should be of the type “
LVC_T_HYPE
”. For each field which will include
hyperlinks you must add an “
int4
” type field to your list data table. Those new fields will contain the
handle to get information from the hyperlink table. You state the field name which contains handle for
each field that will contain hyperlink, in the field catalog by putting the handle name to the “
WEB_FIELD
”
field for each column. OK, all this logic may be confusing; all are fields, which one is the field that will
contain the field with…. It will be now good to add a sample code here.
Assume we want to bring in hyperlinks in columns ‘
CARRID
’ and ‘
CONNID
’. So we should add two
more fields to our list data table:
© 2005 SAP AG
29
An Easy Reference for ALV Grid Control
Code Part 16 –
Two new fields to hold handle data each for the field that will contain hyperlink
*--- Internal table holding list data
DATA BEGIN OF gt_list OCCURS 0 .
INCLUDE STRUCTURE SFLIGHT .
DATA rowcolor(4) TYPE c .
DATA cellcolors TYPE lvc_t_scol .
DATA carrid_handle TYPE int4 .
DATA connid_handle TYPE int4 .
DATA END OF gt_list .
Build your hyperlinks table. Remember that, its type must be “
LVC_T_HYPE
”.
Code Part 17 –
Preparing hyperlinks with their handles
*--- Hyperlinks table
FORM prepare_hyperlinks_table CHANGING pt_hype TYPE lvc_t_hype .
DATA ls_hype TYPE lvc_s_hype .
ls_hype-handle = '1' .
ls_hype-href = 'http://www.company.com/carrids/car1' .
APPEND ls_hype TO pt_hype .
ls_hype-handle = '2' .
ls_hype-href = 'http://www.company.com/carrids/car1' .
APPEND ls_hype TO pt_hype .
ls_hype-handle = '3' .
ls_hype-href = 'http://www.company.com/carrids/car1' .
APPEND ls_hype TO pt_hype .
ls_hype-handle = '4' .
ls_hype-href = 'http://www.company.com/connids/con11' .
APPEND ls_hype TO pt_hype .
ls_hype-handle = '5' .
ls_hype-href = 'http://www.company.com/connids/con12' .
APPEND ls_hype TO pt_hype .
.. ..
ENDFORM .
© 2005 SAP AG
30